Hi I'm Madison


|
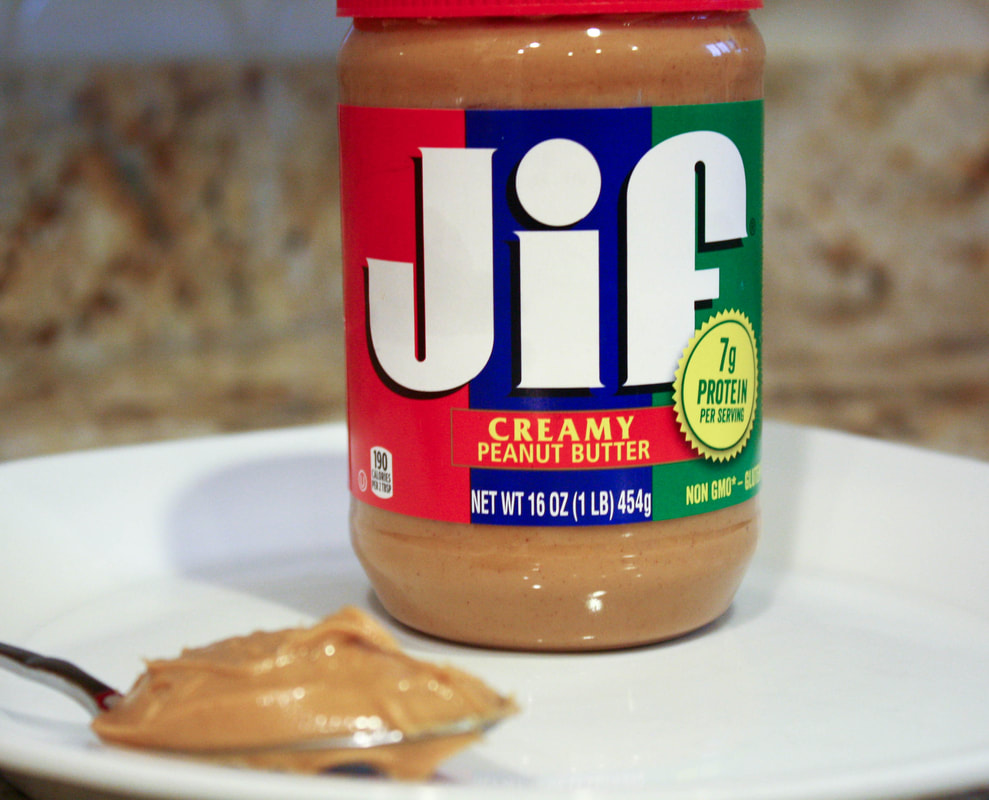
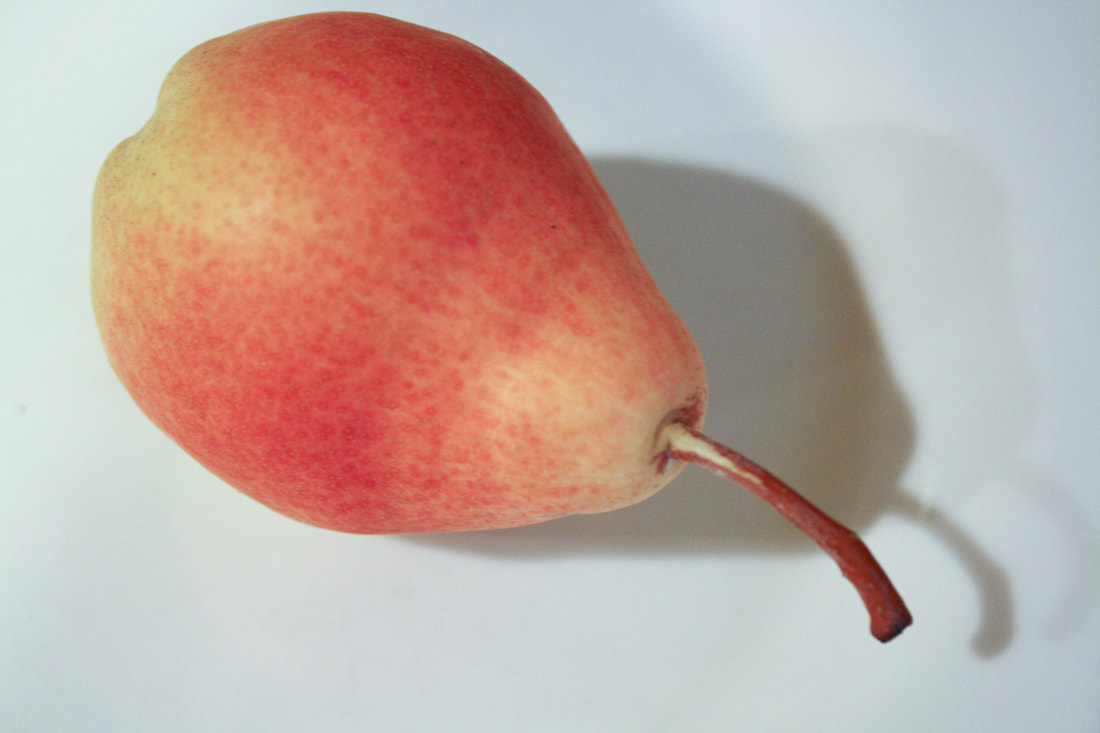
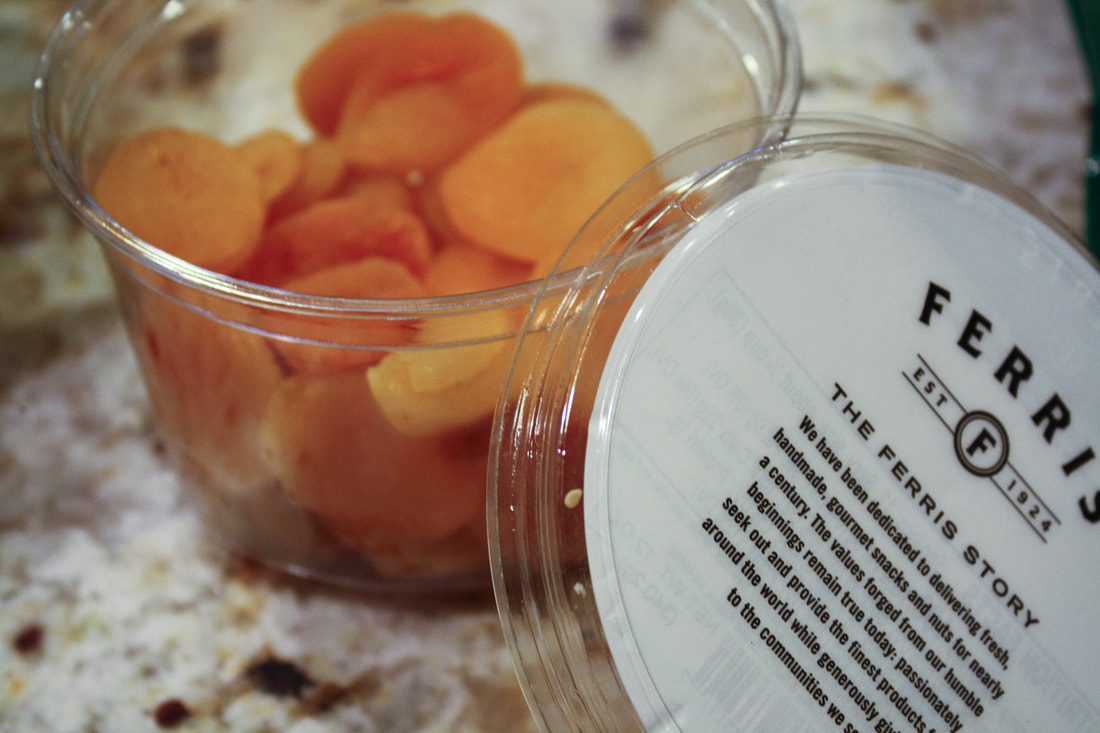
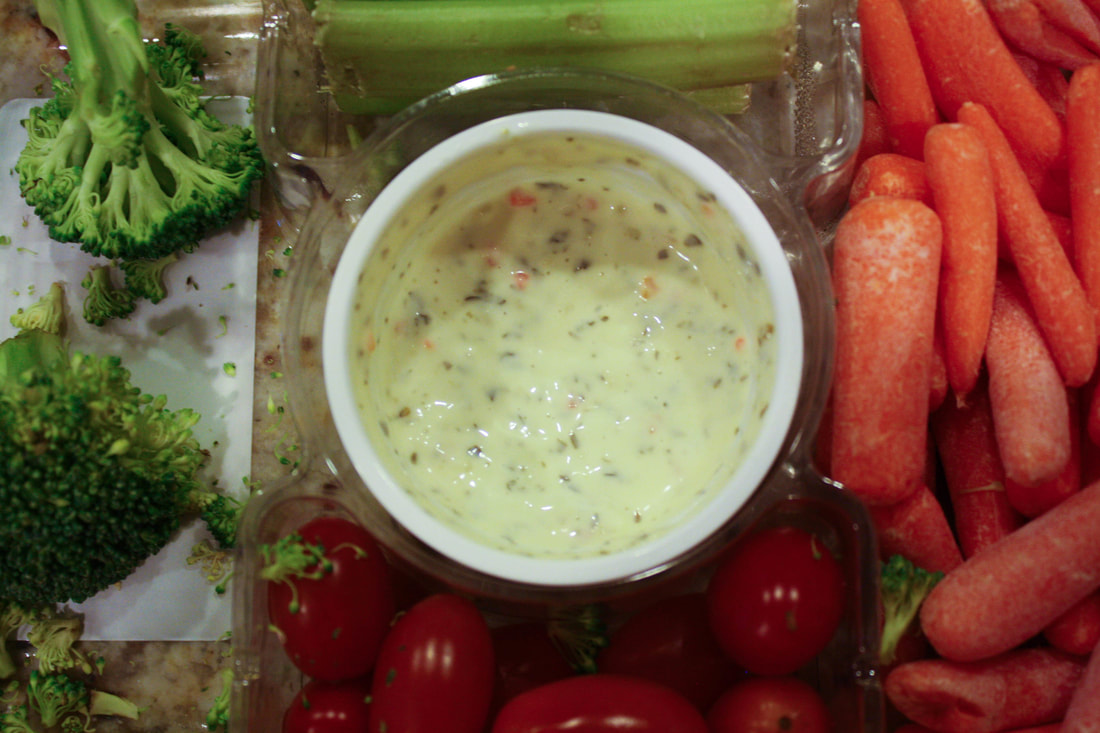
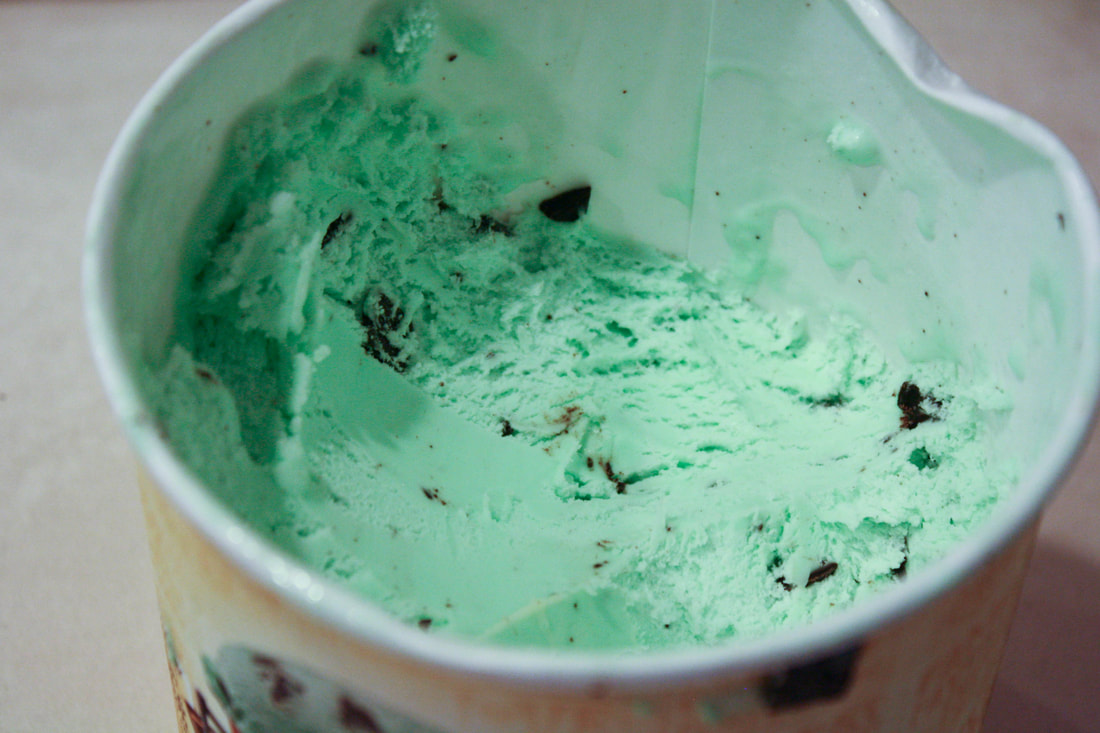
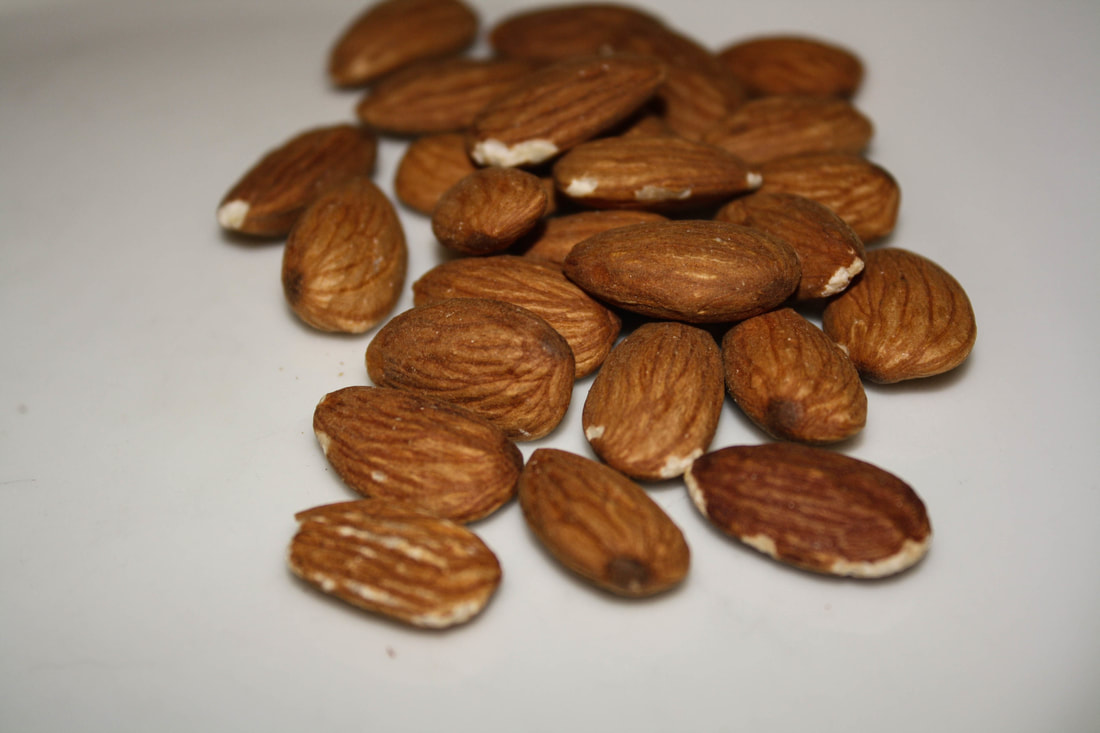
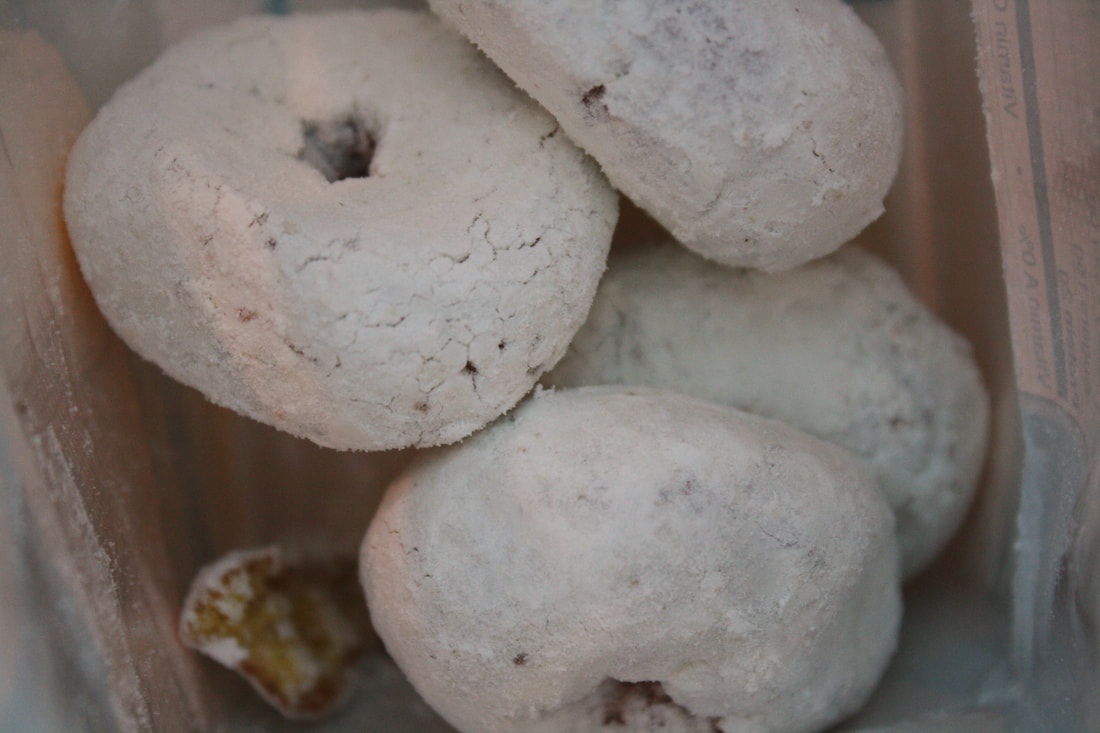
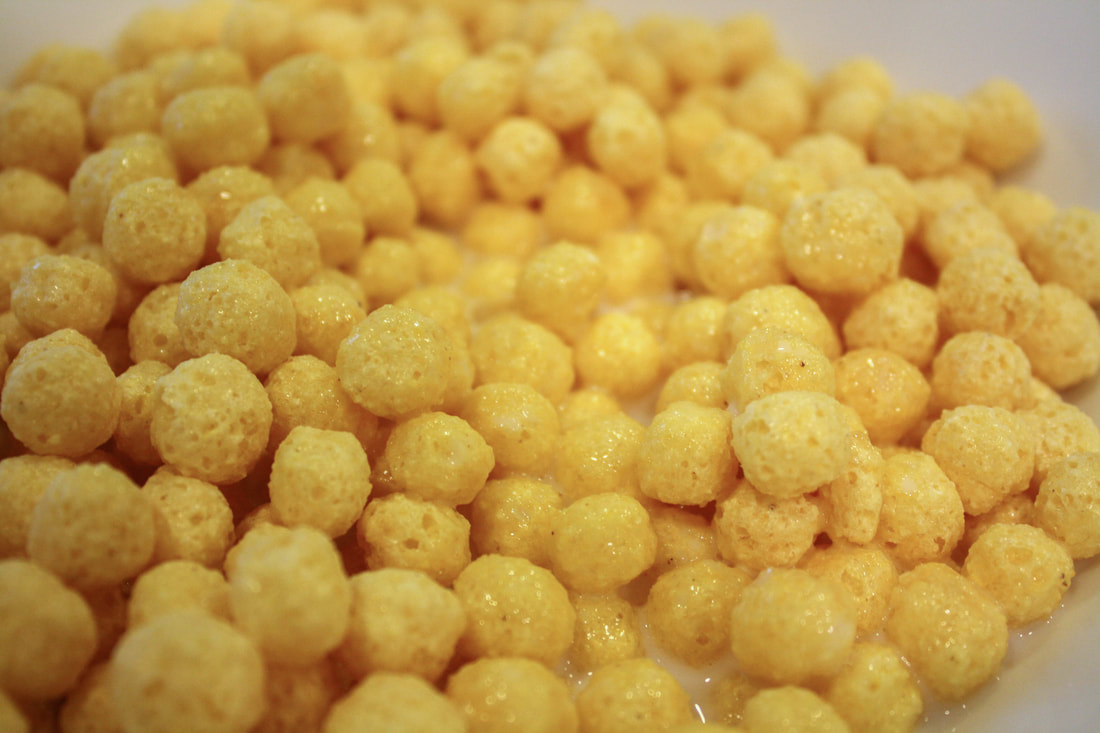
In this assignment I shot food. I got the close up details of food around my kitchen. I learned that the white balance can get turned off when shooting in the close-up mode on your camera. However, this can be fixed in Lightroom. 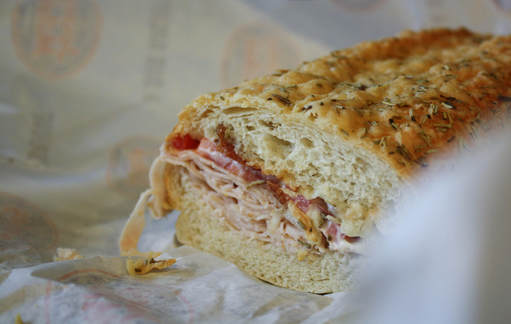 Exposure Triangle: SS-1/30 Aperture-4.5 ISO-500 Editing: In this photo I whitened the paper and cropped out some of the blur made by the paper edge to make the focus on the sandwich. I also upped the vibrance to make the bread more vivid.
0 Comments
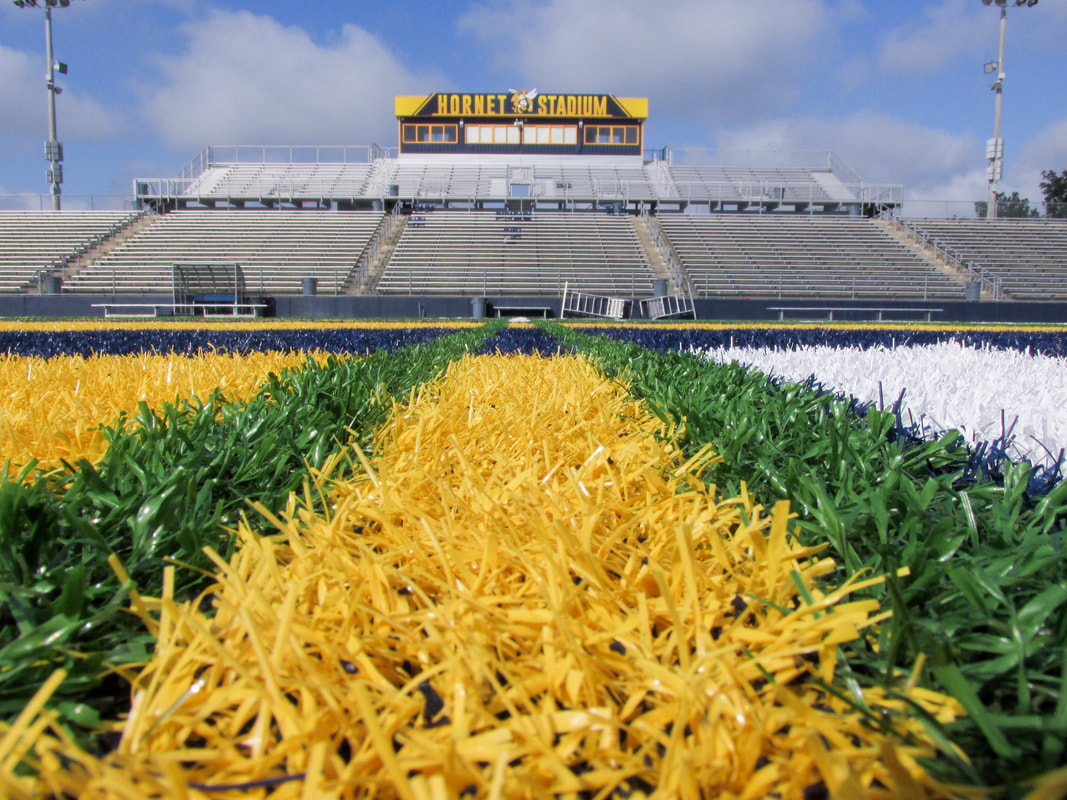
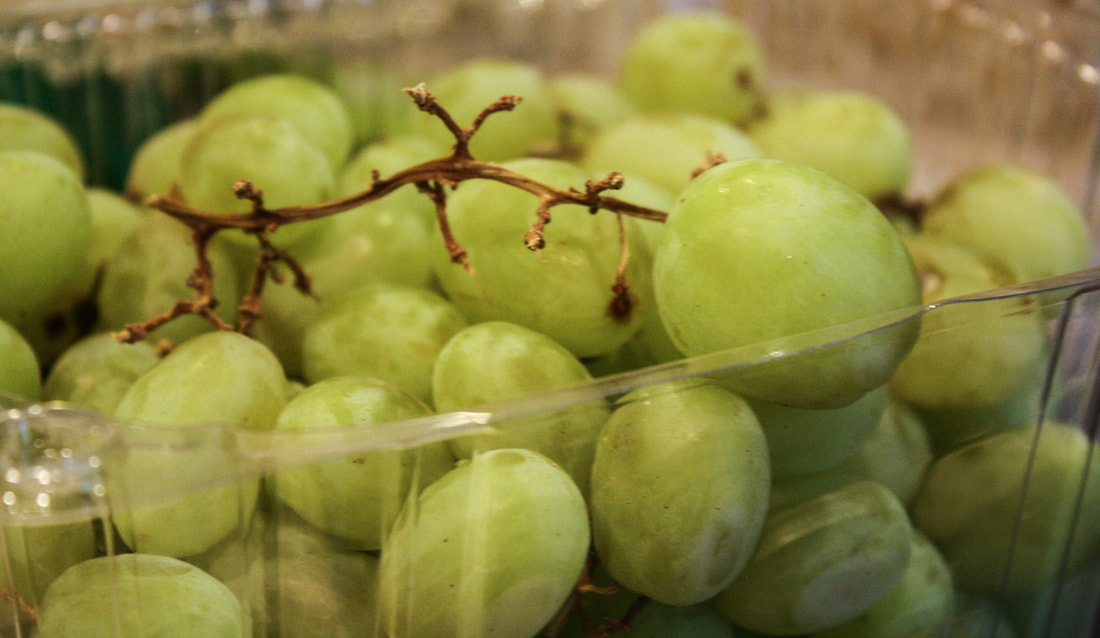
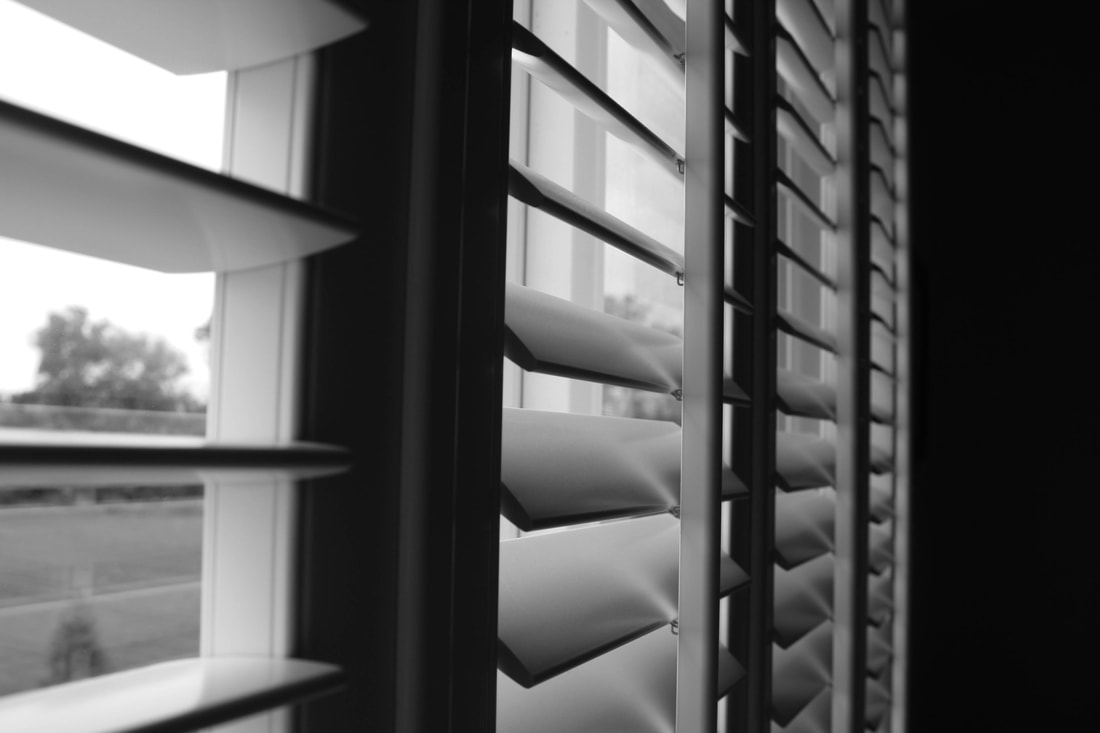
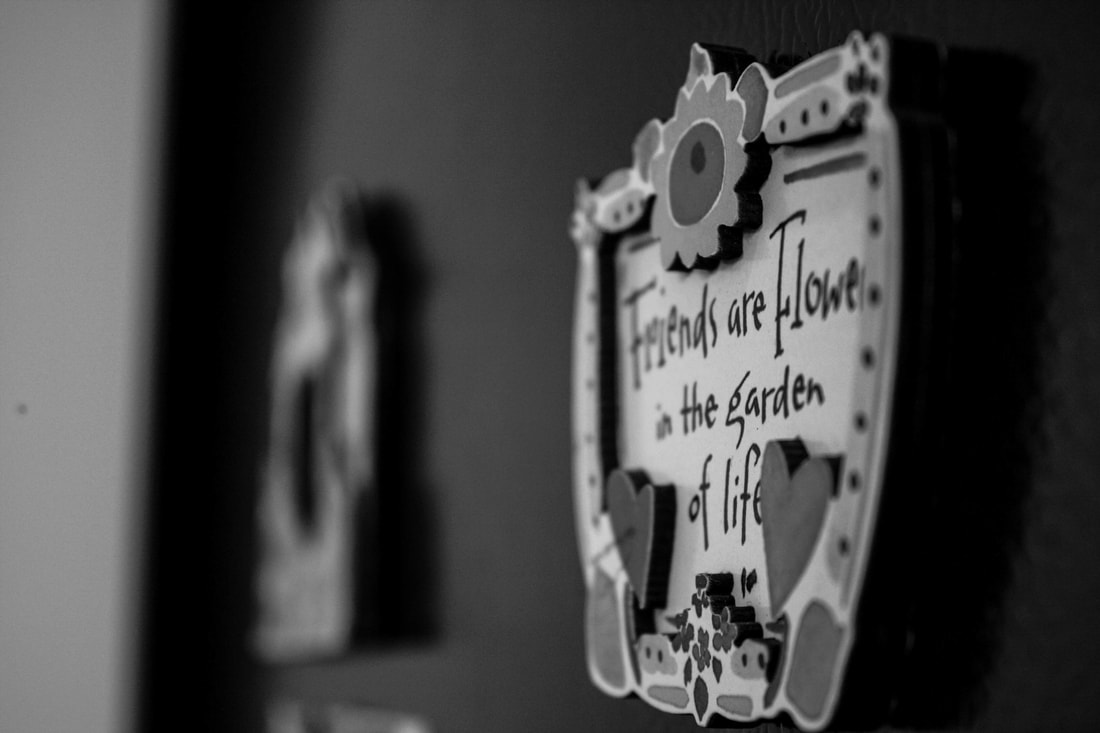
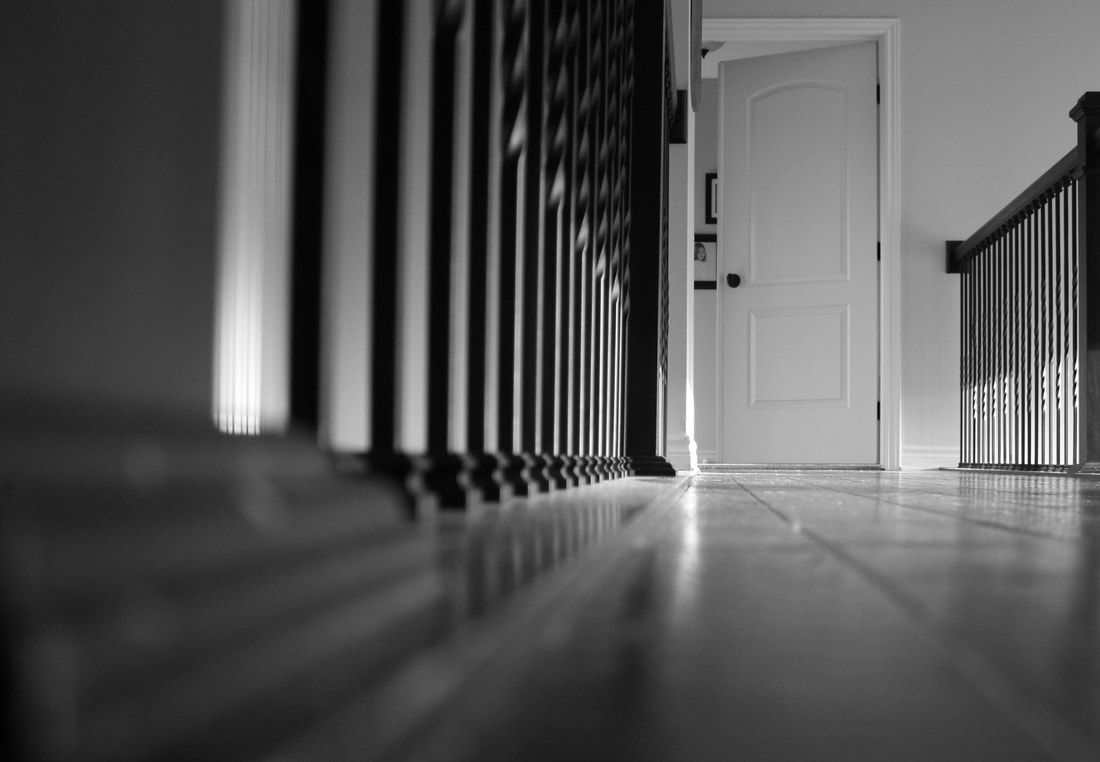
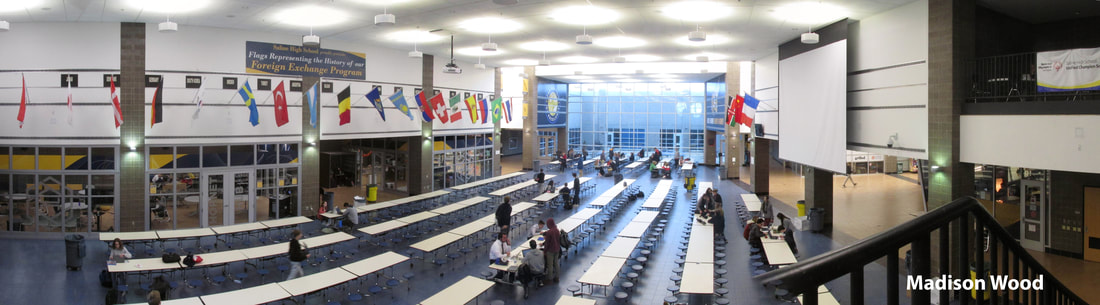
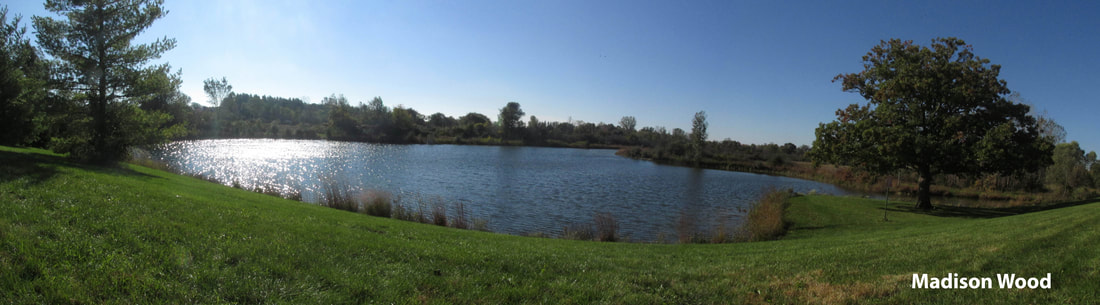
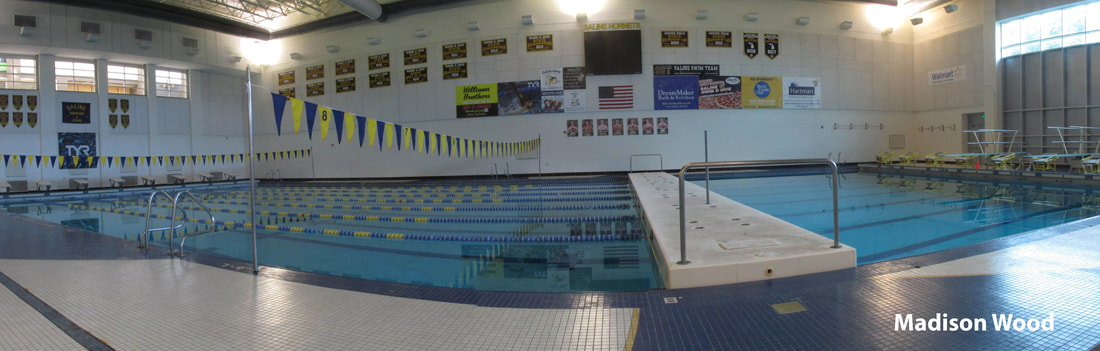
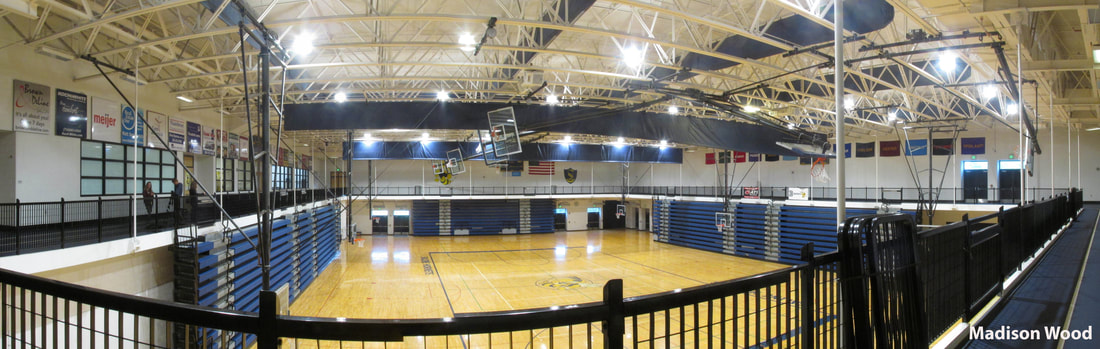
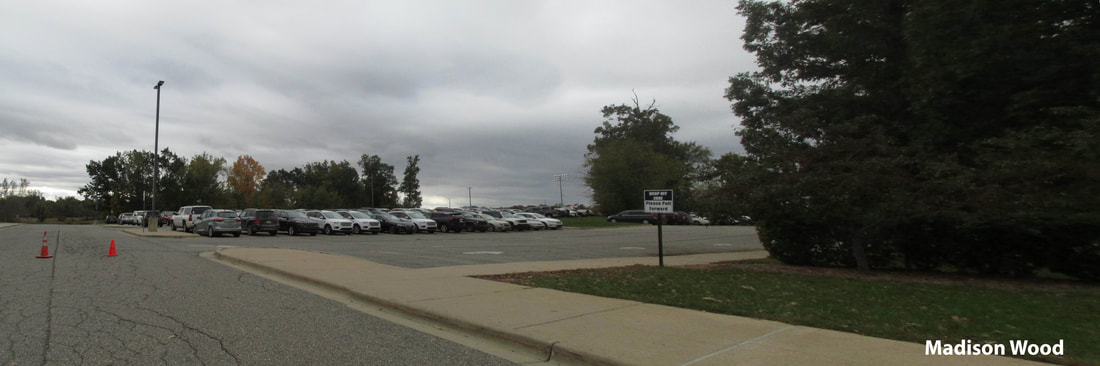
In this assignment I took pictures freely around my house and later used black and white to enlighten their features. I learned how to play with different settings in Lightroom to make a black and white image still have as much depth as a color image. 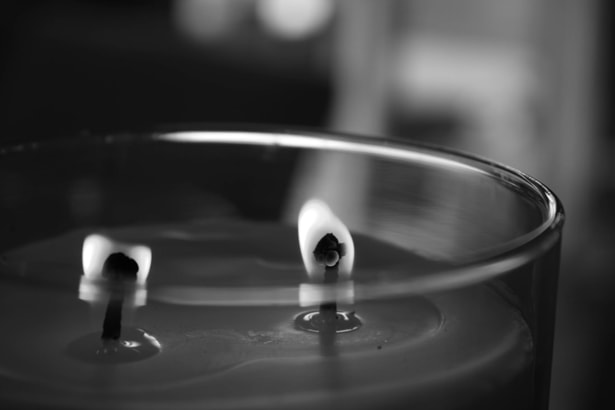 Exposer Triangle: SS-1/60 Aperture-6.3 ISO-200 Editing: In lightroom I used the black and white setting and whitened the light of the flames so that your eyes are drawn to them. In this assignment we took three photos of a subject and merged them together to make one panoramic photo. I learned how to photomerge three photos into one realistic picture. Click to enlarge: In this assignment I photographed the detail in nature using a macro setting in my camera. I stuck to small plants and leaves mostly. I learned that focus on up-close objects is very difficult to get right. 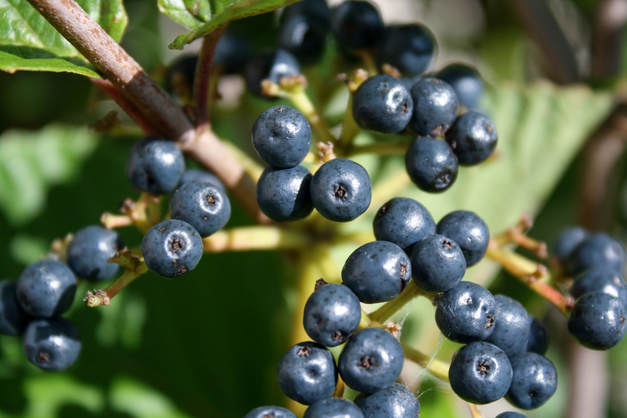 Exposure triangle: Aperture-5.6 SS-1/500 ISO-200 Editing: During the editing I brightened the picture using shadow and white balance. I also made the image more clear to really enhance the detail in the berries. In this assignment we did heavy photoshop to create the ideal photo of a car on display. We learned how to stamp, adjust layers, and take away the background of an image. Click for up-close version: In this assignment, I shot pictures at my cross country meet. We ran at a huge meet called Portage. Before the race, we all tried to laugh off our nerves and take some pictures. I learned that subjects are usually best shot on dark backgrounds. 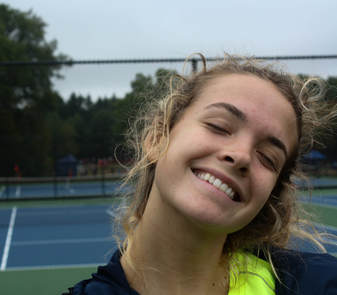 Exposer Triangle: ISO-200, SS-1/100, Aperture-8.0 Editing: This was at the awards so there where people taking a picture in the background. I cropped them out, lowered the exposer and tried to highlight her face. In this assignment we learned how to use photoshop to edit pictures using the popart technique.
During this assignment I learned, the basics of photoshop. Mainly, I learned a lot about how to use hues and and threshold to manipulate an image into the popart effect.
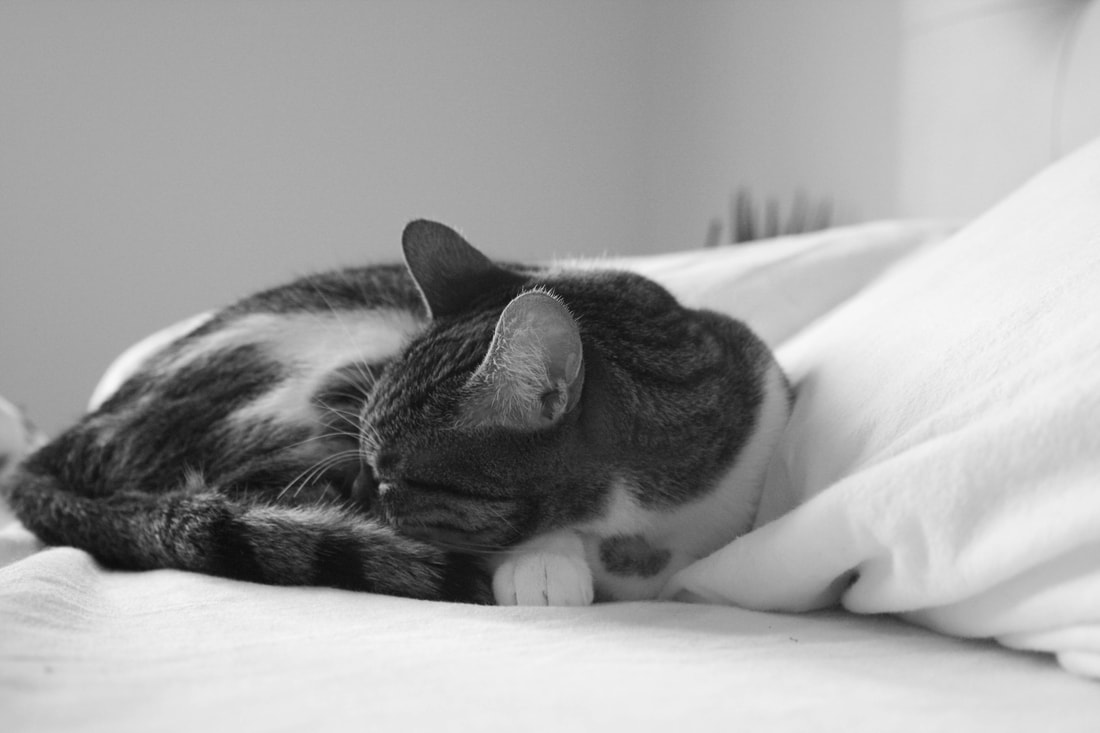
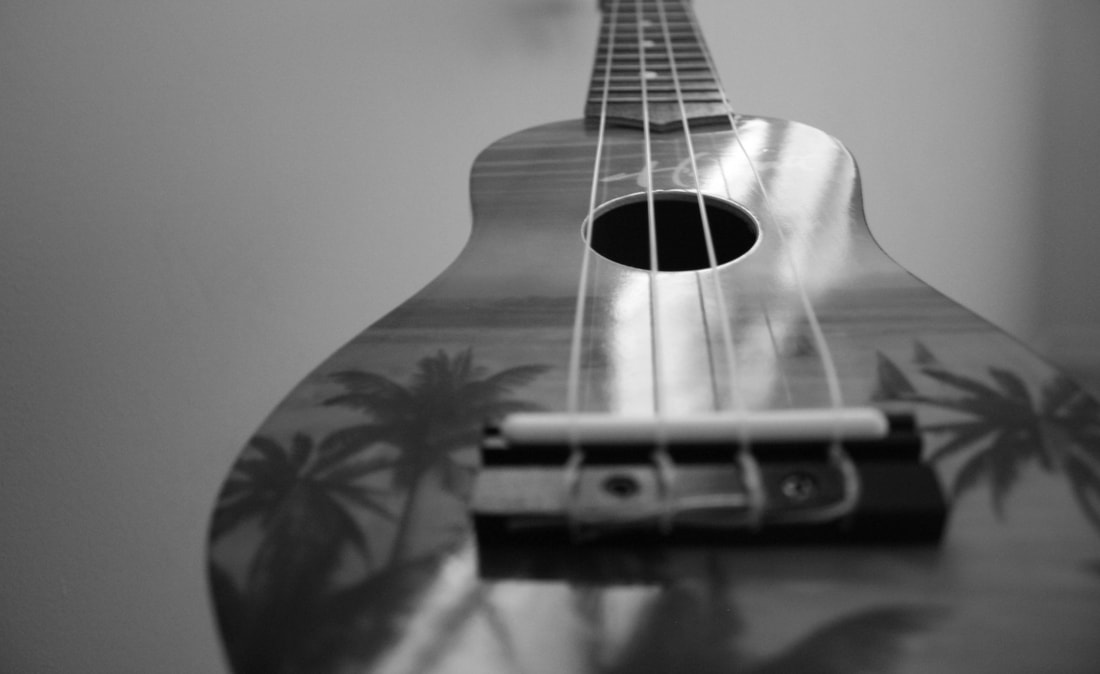
For the first photography assignment, I decided to photograph my cat Callie. I learned while shooting that cats move A LOT. However, if your patient certain shots could have their own unique effects. 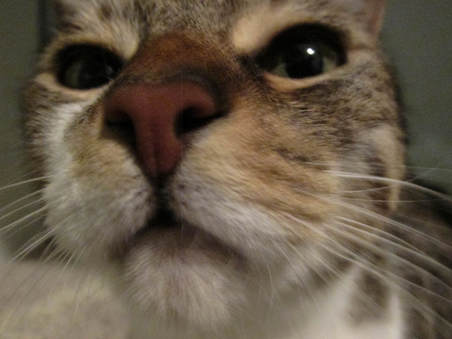 Exposure Triangle: ISO- 800 F-3.5 SS- 1/8 Editing: With this photo I really liked the manipulation of the depth. So in order to add to it I added only a bit of sharpening. With a moving subject you really have to work with it. I feel that by contrasting and darkening the image I put the cats blurred features in there finest light. |
AuthorMadison Wood Archives
November 2018
Categories |


 RSS Feed
